- Joined
- Jun 2, 2008
- Messages
- 1,502
- Reaction score
- 35
- Points
- 48
- Location
- Louisville
- Your Mac's Specs
- MacBook 2.1GHz Core 2 Duo | 1GB RAM | OS X 10.6.3 | 250GB External HD | 8GB iPod Touch 1st Gen 3.1.3
Part One
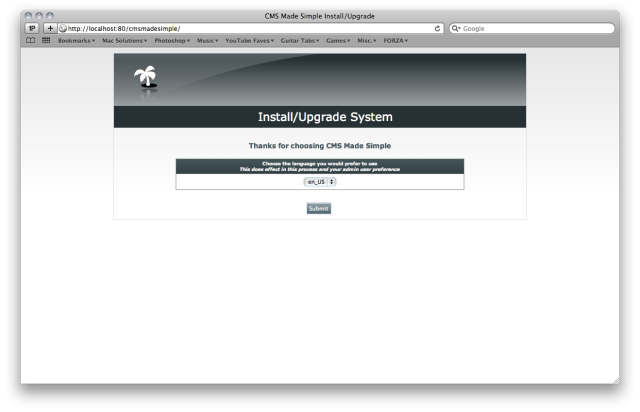
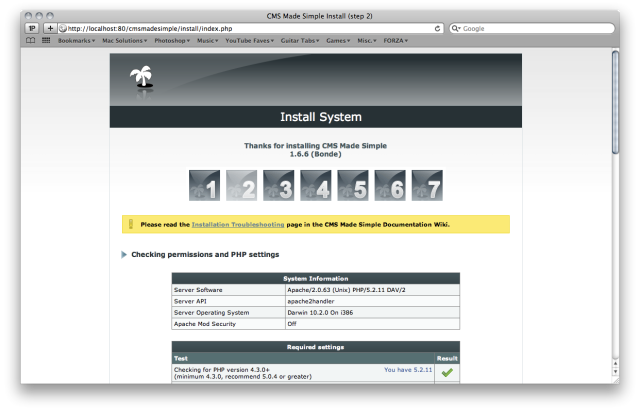
Using CMS Made Simple with MAMP - Step-By-Step
If you do not already know about Content Management Systems, you can learn more about it here.
To prepare you for the walkthrough, you will need to download MAMP, CMS Made Simple 1.6.6, and an editor, such as jEdit. Do not download these yet unless you want to clutter your screen! Wait until you arrive to the step that requires the download of these:
MAMP
CMS Made Simple (CMSMS)
jEdit
Also: since Apache comes pre-installed with your Mac, you may not be able to use port 80 for Apache if Web Sharing is enabled. To make sure the Web Sharing box is unchecked, go to System Preferences >> Sharing. If unchecked, you are good to go and we can begin. . .
P.S. you will need to be logged in on the administrator account through the entire process
--
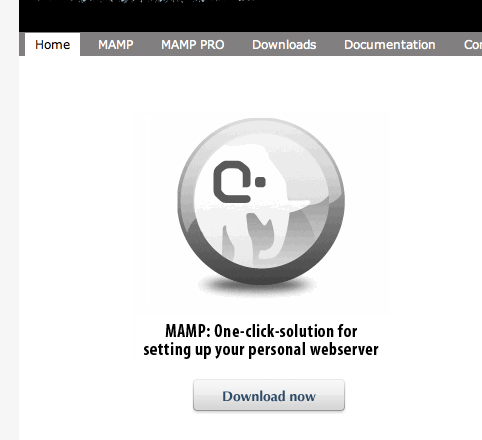
Go to the main site for MAMP, and click the download link for the regular version.
--
After the download is complete, you will be asked to agree to the terms of service. Please agree")
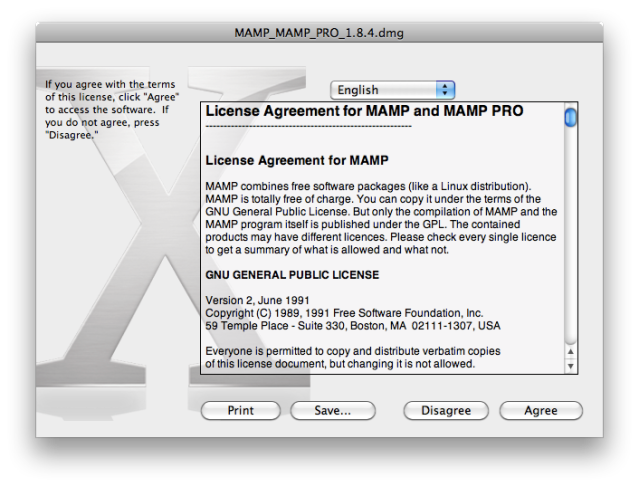
--
Drag ONLY the MAMP application, ignore MAMP Pro.
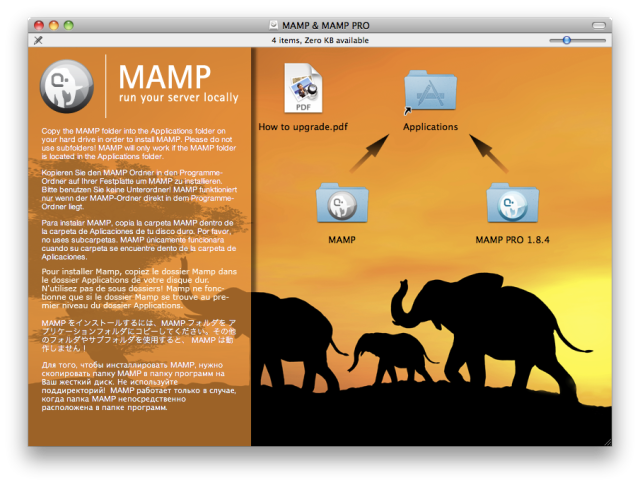
--
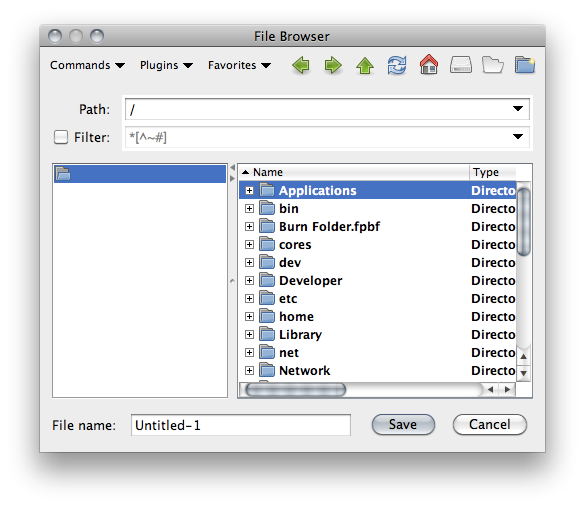
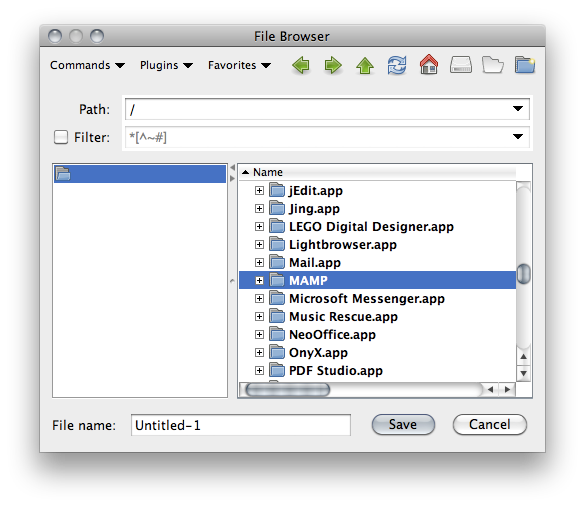
Open up your applications in Finder (Command+Shift+A), locate MAMP, then double click to open it's contents.
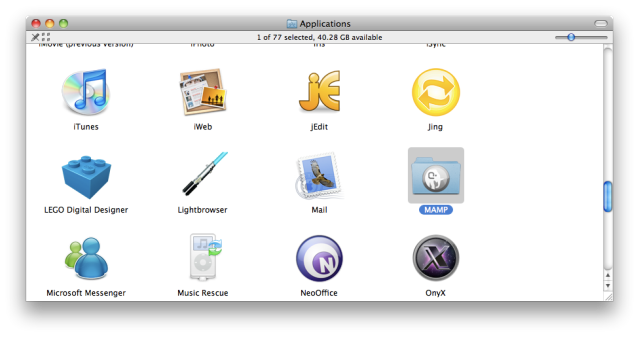
--
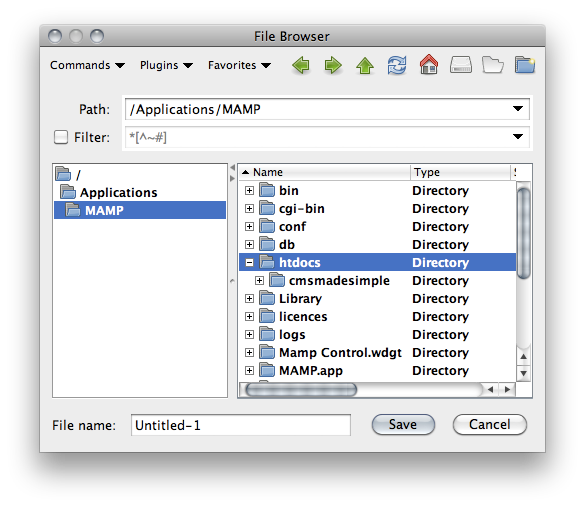
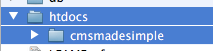
Now that you are viewing the contents of the MAMP folder, find a folder called htdocs. Click it once so it is highlighted (it will be easier to find again later).
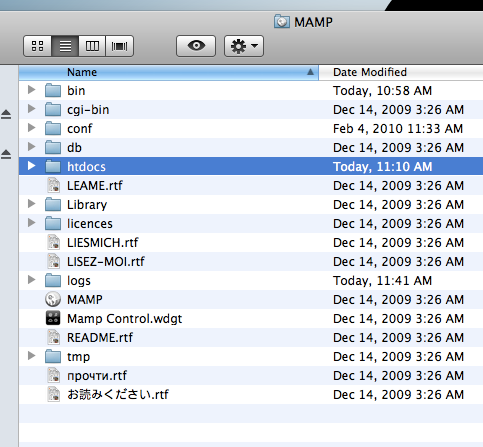
--
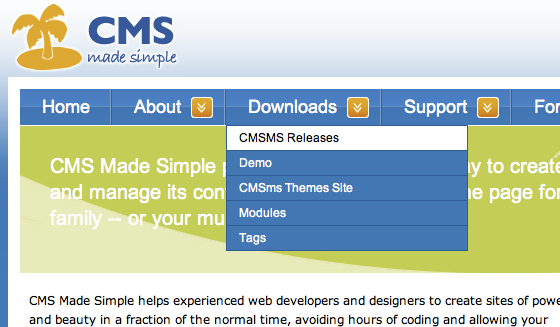
Go to Safari again, and download CMS Made Simple 1.6.6 by hovering over "Downloads" and clicking CMSMS Releases.
--
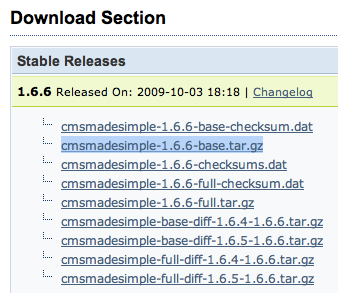
Click the second link under Stable 1.6.6 Releases. It probably does not have to be the second one but that is the one I always clicked and has always worked.
--
Once downloaded and unarchived, drag and drop that folder into the htdocs folder you kept highlighted earlier. Also, rename the CMS Made Simple folder to "cmsmadesimple".
--
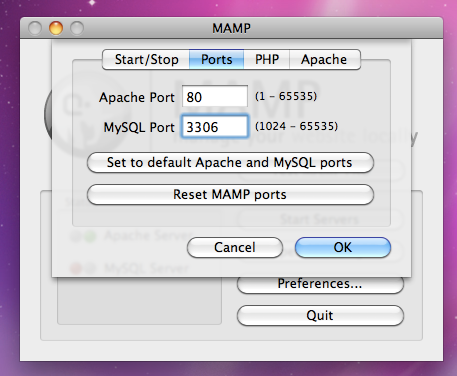
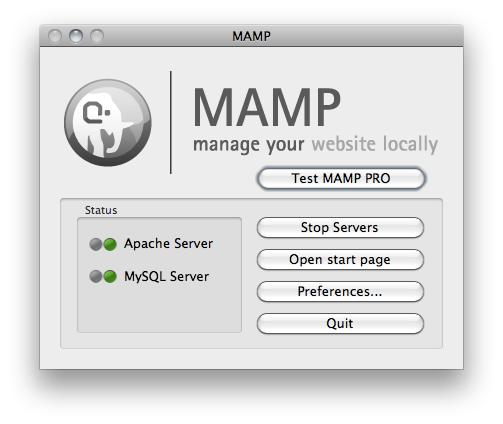
Now from the MAMP folder, locate the application and launch it. I recommend moving it into the dock. it will require you to enter your password. This is what the main window will look like.
Using CMS Made Simple with MAMP - Step-By-Step
If you do not already know about Content Management Systems, you can learn more about it here.
To prepare you for the walkthrough, you will need to download MAMP, CMS Made Simple 1.6.6, and an editor, such as jEdit. Do not download these yet unless you want to clutter your screen! Wait until you arrive to the step that requires the download of these:
MAMP
CMS Made Simple (CMSMS)
jEdit
Also: since Apache comes pre-installed with your Mac, you may not be able to use port 80 for Apache if Web Sharing is enabled. To make sure the Web Sharing box is unchecked, go to System Preferences >> Sharing. If unchecked, you are good to go and we can begin. . .
P.S. you will need to be logged in on the administrator account through the entire process
--
Go to the main site for MAMP, and click the download link for the regular version.
--
After the download is complete, you will be asked to agree to the terms of service. Please agree
--
Drag ONLY the MAMP application, ignore MAMP Pro.
--
Open up your applications in Finder (Command+Shift+A), locate MAMP, then double click to open it's contents.
--
Now that you are viewing the contents of the MAMP folder, find a folder called htdocs. Click it once so it is highlighted (it will be easier to find again later).
--
Go to Safari again, and download CMS Made Simple 1.6.6 by hovering over "Downloads" and clicking CMSMS Releases.
--
Click the second link under Stable 1.6.6 Releases. It probably does not have to be the second one but that is the one I always clicked and has always worked.
--
Once downloaded and unarchived, drag and drop that folder into the htdocs folder you kept highlighted earlier. Also, rename the CMS Made Simple folder to "cmsmadesimple".
--
Now from the MAMP folder, locate the application and launch it. I recommend moving it into the dock. it will require you to enter your password. This is what the main window will look like.